


Microsoft Forms is a web-based application provided by Microsoft that allows users to create surveys, quizzes, and polls. It is part of the Microsoft 365 suite of productivity tools. With Microsoft Forms, users can easily create custom forms and collect responses from others.
Getting Started
- Navigate to Microsoft Forms in your Apps; if you are having trouble locating it, you can always search for it in the search bar of your Office 365
- Once in Forms, select the option to Create New Form
The difference between creating a new Form vs a new Quiz is that in Quizzes, you can add answers and scores and math equations; you can also provide feedback on the user’s selected answer – explaining why it is right or wrong.
- You may also click the photo icon by the title of your form icon to include a picture from your computer, OneDrive, or the Web.
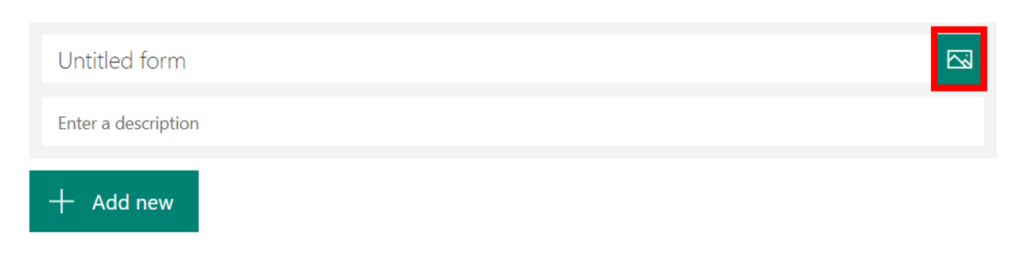
- The result will be a box with the title, description, and picture you choose detailed inside.
- After you’ve set up your title, you can start creating your Form.
Adding Questions
- Select the Add New button to add a question.
- You will have a list of options to select as your question type. The question types consist of Choice, Text, Rating, Date, and multiple other options when you click the down arrow.

After Creating Questions
- After you have set all of the questions and question settings for your poll or survey, you can preview the finished product as if you were filling it out by clicking the Preview button at the top right of the page.
When previewing the survey or quiz, you can see how it looks for users on both computers or mobile devices by selecting your view in the top right.
- There are also several different themes you can use to customize the look of your quiz or survey even further by clicking the Theme.
- You will be given even more options if you click on the More button in the top right.
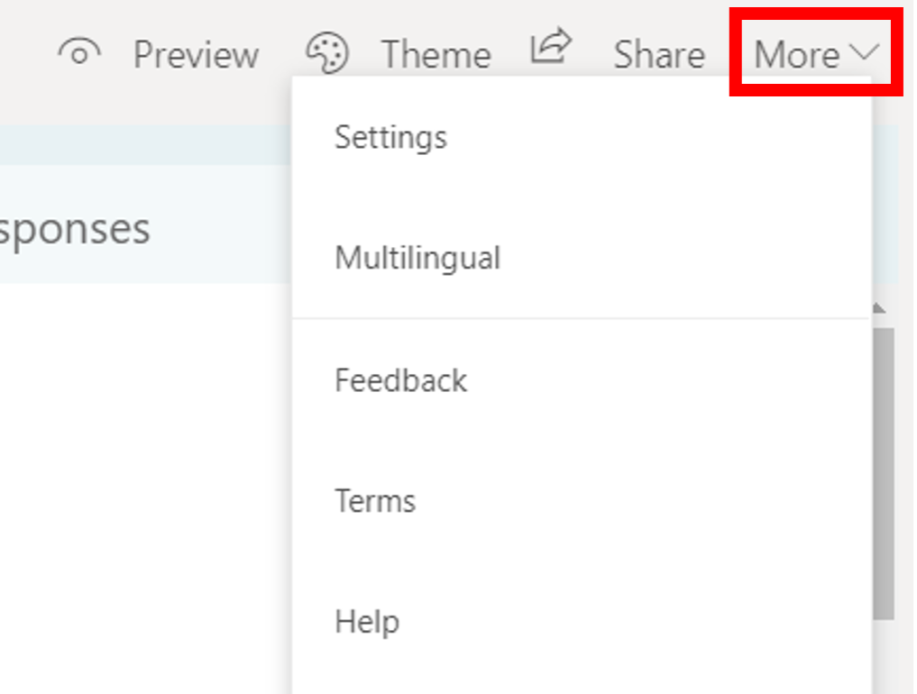
- You will be given a list of options on this form by entering your settings. Options include who can complete the form, options for different responses, and notifications after completion.
- You can also click the Multilingual button under. This will allow you to add another language for students to choose to fill the Form out. You will have to enter the translations for questions that you wrote.
- Lastly, to share your Form with everyone, click the Share . You will be given a list of options. The Options include sharing a link to the Form, getting the QR code to the Form, getting the embedded code to the Form, and emailing the Form.
Sharing a form
To share the Form with everyone in your Microsoft Team, simply click the Copy Link button and paste it into your Team Chat.
As everyone completes the form, you can view their responses.